Map — setup guide
Each node is a page. The lines between them are a field you fill in. This walks through installing the template and adding your first node. Nothing here needs the command line beyond one copy-paste.
01 Put the files on a server
You need PHP 8.2 or newer. Any shared host will do — no database, no build step, nothing to compile.
Unzip the download and upload the whole folder to your web root. If your download already contains a kirby/ folder you are ready. If it does not, install Kirby alongside it:
composer require getkirby/cms
To look at it on your own machine first, run this inside the folder and open localhost:8000:
php -S localhost:8000 router.php
02 Make your Panel account
Open /panel on your site. The first time, Kirby asks for an email and a password and makes you the administrator. That account is stored in your own files — there is no service to sign up for.
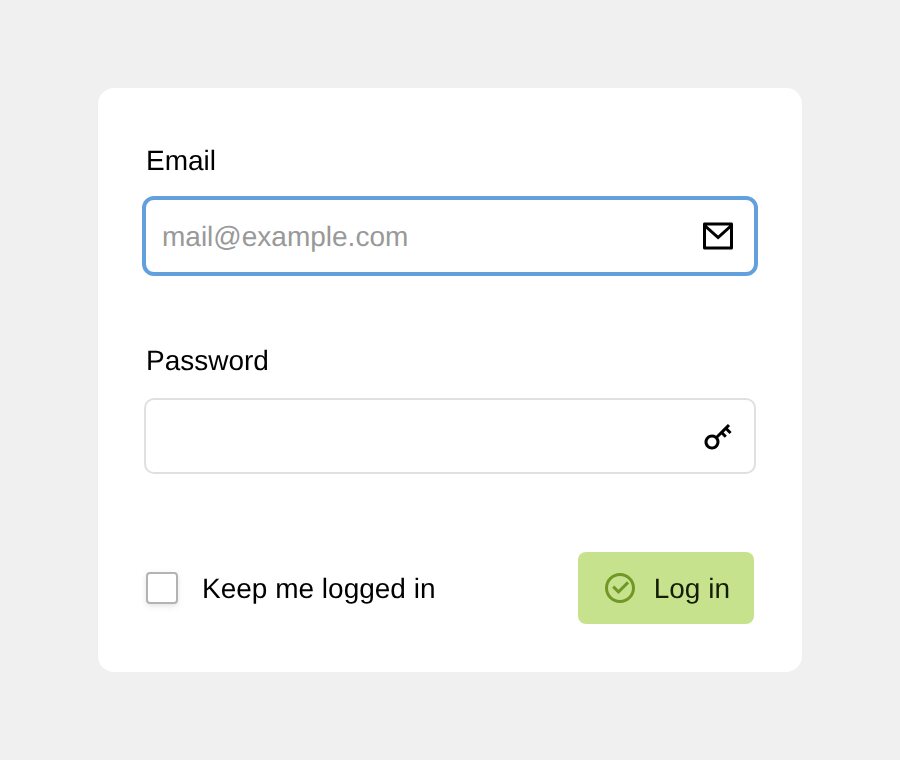
On a live domain, Kirby requires HTTPS before it will let you install. If your host has not issued a certificate yet, do the setup locally first and upload site/accounts/ with the rest.
03 Find where the nodes live
Nodes are top-level pages, listed on the Site screen. Decorative markers — trees, pins, flags — live on the Home page instead.
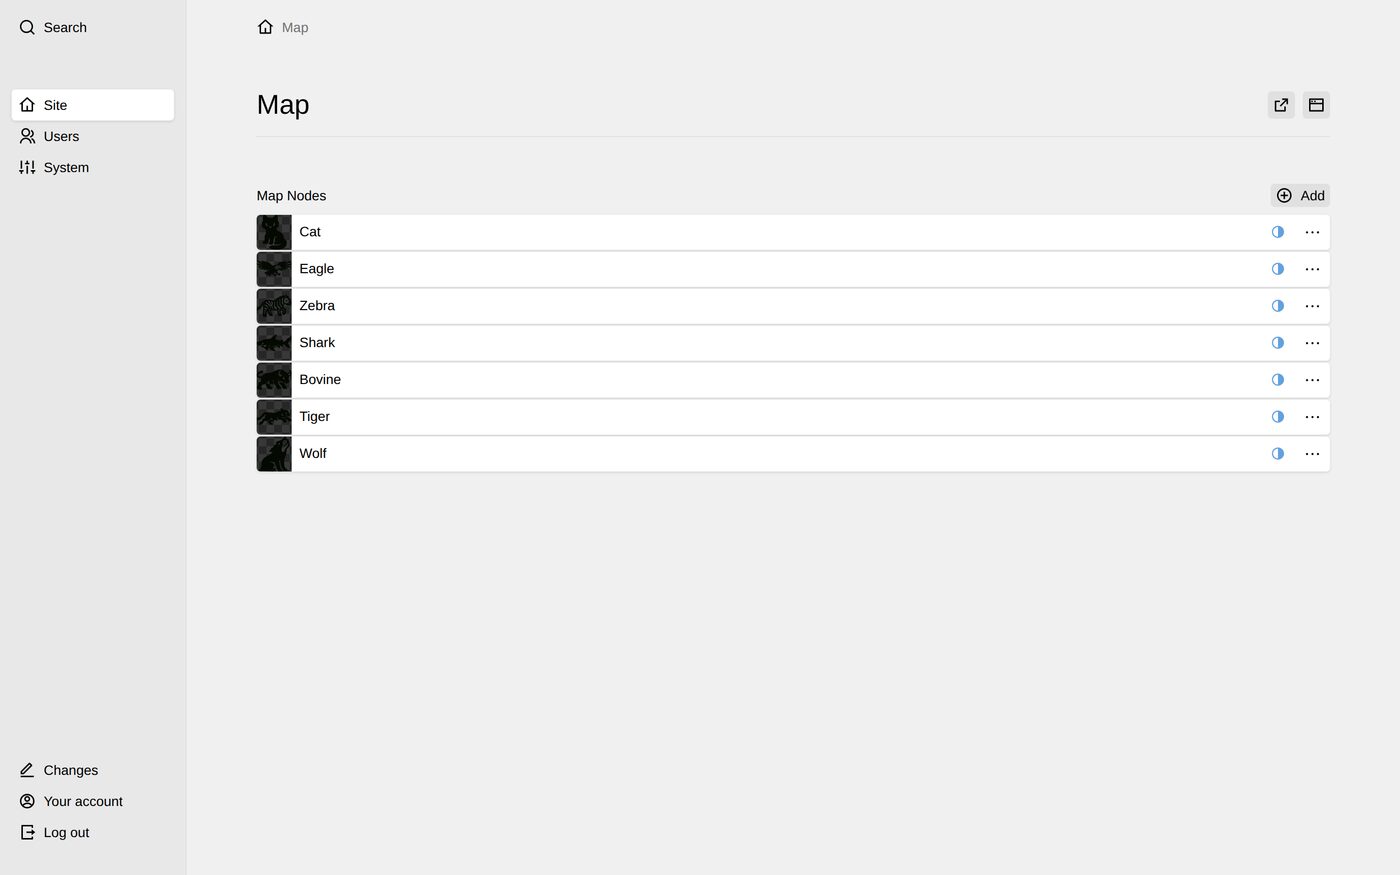
04 Add a node
Press Add, give it a title, and open it. These are the fields:
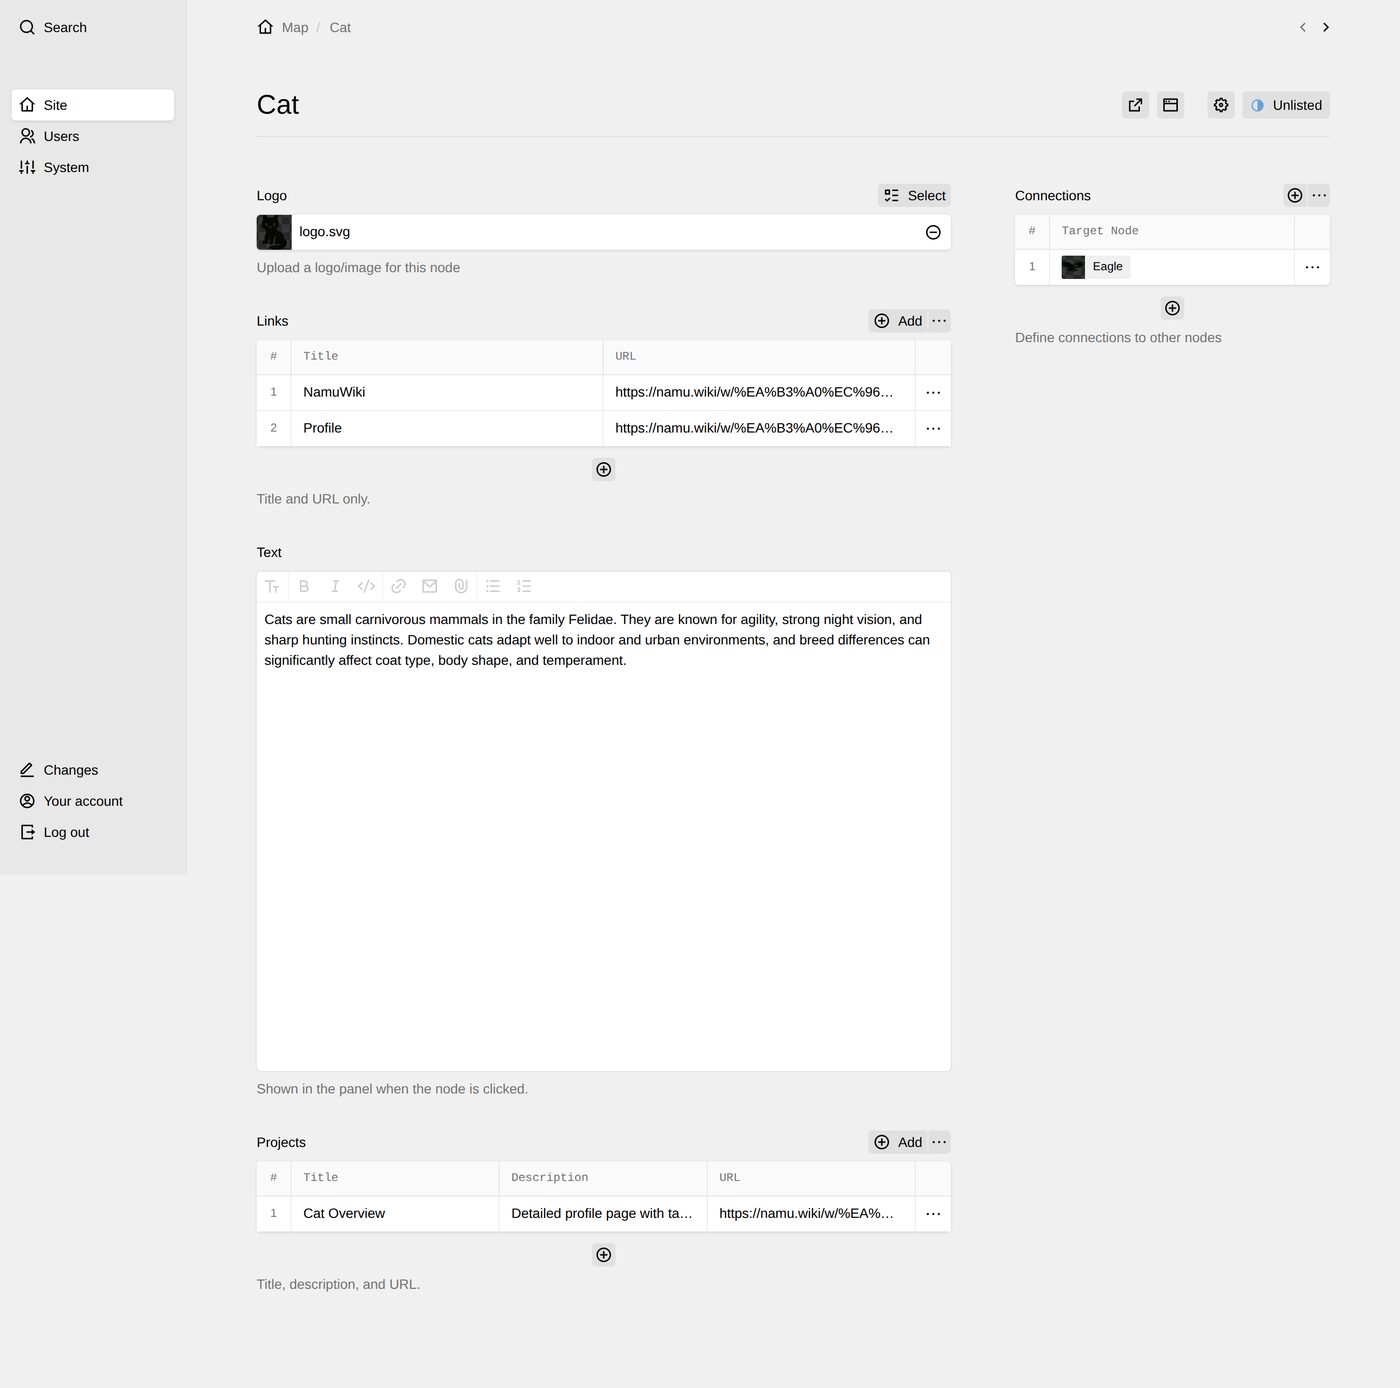
- Title
- The label under the node on the map.
- Logo
- The node’s image. SVG or PNG; transparent backgrounds look best.
- Links
- Title and URL pairs. They become buttons in the side panel.
- Text
- Shown in the side panel when a visitor clicks the node.
- Connections
- Pick the other nodes this one links to. Each pick draws one hand-sketched line. Enter nothing and no lines are drawn — the shape of the map is entirely yours.
Worth knowing. Connections are one-directional in the field but drawn once on the map. Set them on whichever node you think of first; you do not need to mirror them.
05 Look at the site
Nothing to publish or rebuild — the front end reads the same files the Panel just wrote. Reload and it is there.
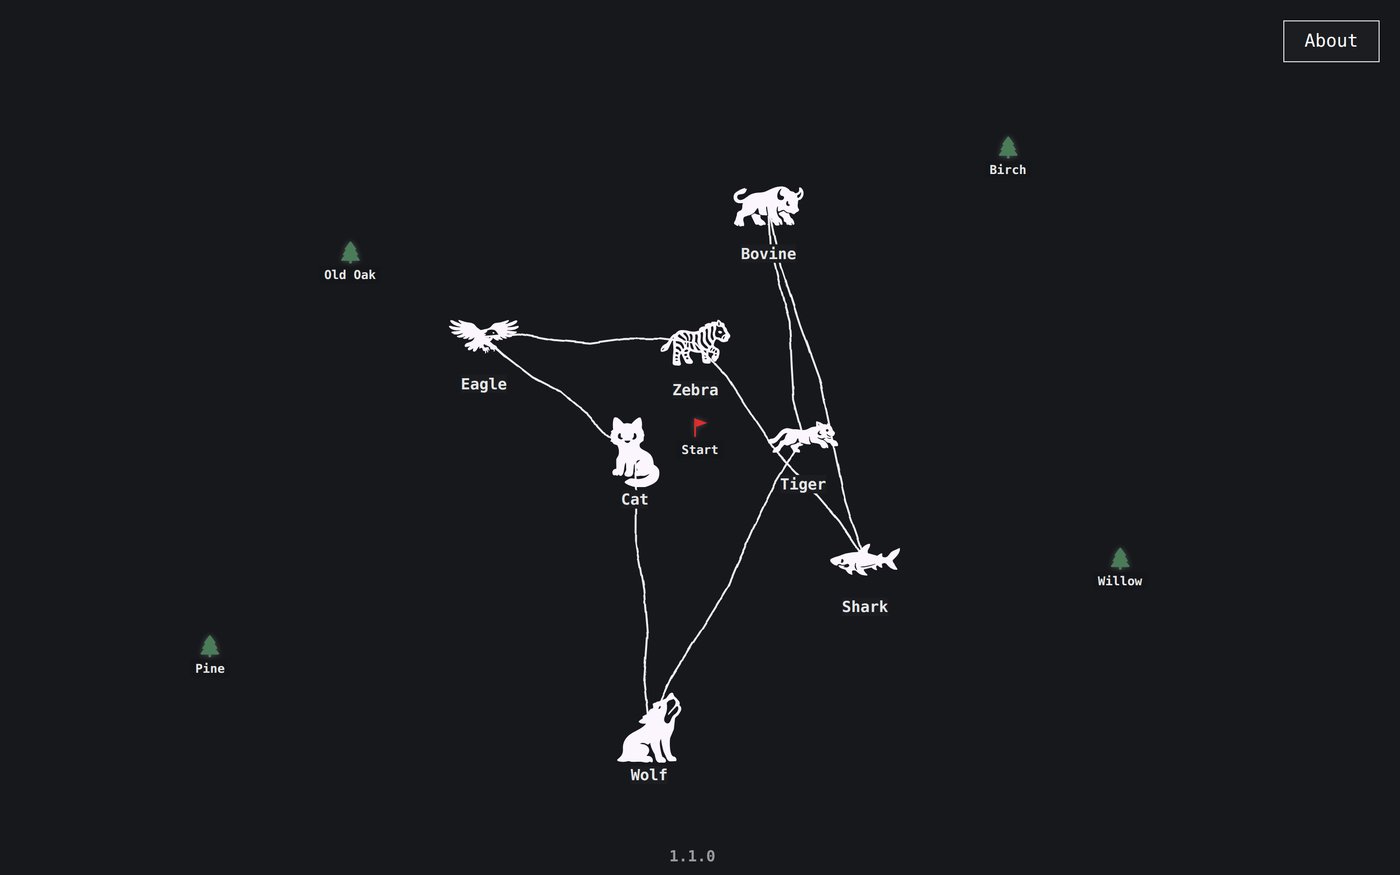
Colour. The page colour is one field on the Site screen — Background colour. Lines, labels, the About button and the side panel follow it. On a dark colour, black logos and silhouettes are inverted to white; switch Invert node images off if yours are full-colour.
06 Replace the demo content
The nodes that came with the template are original work and yours to keep, reuse or delete. Delete them from the Panel like any other page once your own are in.
Kirby is a paid CMS: a production licence is about €99 from getkirby.com and is not included with this template. You can develop and preview locally for free for as long as you like — the licence is for the live site.